Gardens Alive! & Supplies


"The story of Gurney's
starts small..."


We're glad you're here and we've got great news. Gurney's has partnered with Direct Gardening to bring you an even better selection of vegetables, fruits, seeds, flower bulbs and bareroot plants.
Our customer service team is ready to answer any questions you may have and help you find all the great products you're accustomed to, plus even more.
Call us at (513) 354-1492 or send us your question via our Live Chat service. If you have replacement certificates, they can be redeemed on Gurneys.com.
We want you to be satisfied. If you're not happy with one of our products, we'll replace it or provide a merchandise credit for the full amount of your purchase price. All nursery stock, trees, plants, seeds and merchandise are guaranteed for one full year.
Be sure to sign up for Gurney's emails to receive new product announcements, the latest deals and exclusive offers just for our email subscribers.
Sign up here: https://www.gurneys.com/newsletter
Have another question? Return to the Customer Service Help page or send an e-mail directly to Customer Service
![]()
We constantly seek out the latest advancements in horticulture to bring you
exclusive varieties that will thrive in today's climates and taste better than anything you will find at the grocery store.

Mention @gurneysseed or hashtag #gurneysseed for your chance to be featured.
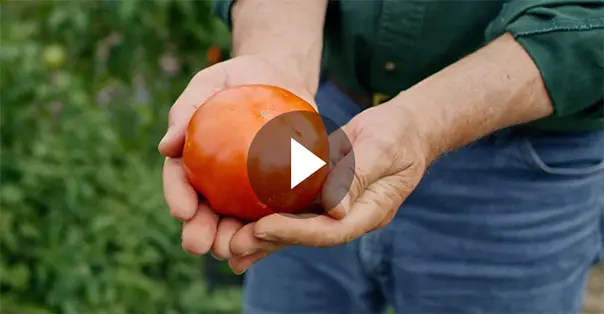
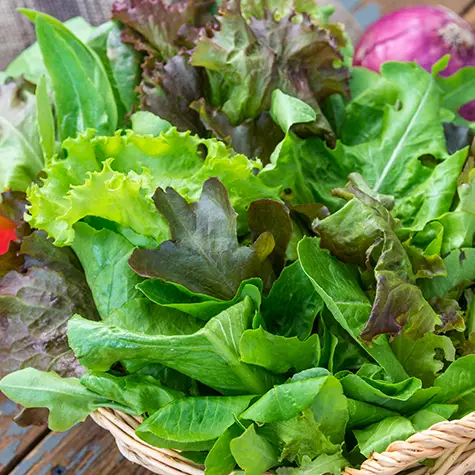
 Planting Your Vegetable Garden
Before you put any plants into the ground, you should draw a sketch of the garden area so you can plan how many plants you want and where they will go...
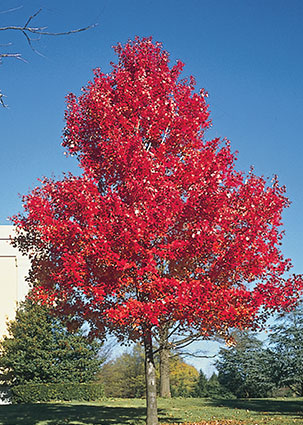
Read More »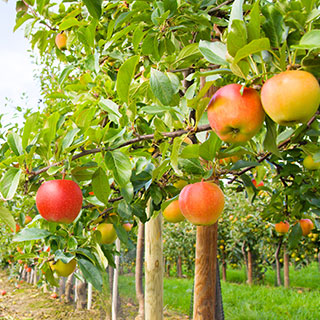 How to Plant and Care for Fruit Trees
Plant fruit trees as advised in Easy Steps to Planting Nursery Stock, following the spacing recommendations below. This spacing, less than 50 feet apart...
Read More » About Bareroot Perennials
There are five basic types of root systems: fibrous roots, long tap roots, rhizomes, roots with "eyes", and fleshy tuberous roots Fibrous Roots, Long Tap...
Read More » Easy Steps To Planting Nursery Stock
Soak roots of trees, shrubs and roses for several hours before planting. Soak strawberries and perennials ½ hour. If you can't plant immediately, see No. 3...
Read More »Grow healthier, more resilient plants with dormant and bareroot stock!

Enter to activate your savings.
Subscribe to our email list to receive best offer.


Item added to cart